

Top Tips for an Effective Home Pilates Practice
Discover how to create an effective home Pilates practice with tips on space setup, essential equipment, creative props, and device placement for online classes

PILATES AT HOME
What To Consider
Pilates is a fantastic way to build strength, improve flexibility, and enhance overall well-being. And the best part? You can reap all those benefits from the comfort of your own home.
Embarking on a home Pilates journey can be a transformative experience, offering both physical and mental benefits. Whether you're a seasoned practitioner or just getting started, optimising your home setup and incorporating smart strategies can enhance your Pilates routine, making it easier and more enjoyable. Let's explore how to create a seamless and fulfilling Pilates practice in the comfort of your own home.
I have a beautiful Pilates studio at my disposal but prior to that I taught and worked out from a small-ish bedroom in my smallish house. Was it a pain sometimes? Of course, but it was also totally doable.
Here are my practical ideas & tips to make the most of your home Pilates practice whether you live in a little cabin on a hill, an inner-city apartment, or somewhere in between. We’ll look at:
Space - where will you be?
Equipment - what’s necessary (turns out, not much)
Props - easy hacks from what you might already have
Set-Up - inviting technology into your practice
1. CREATE SPACE
Creating a dedicated Pilates space in your home doesn't require much, but a few considerations can make a big difference:
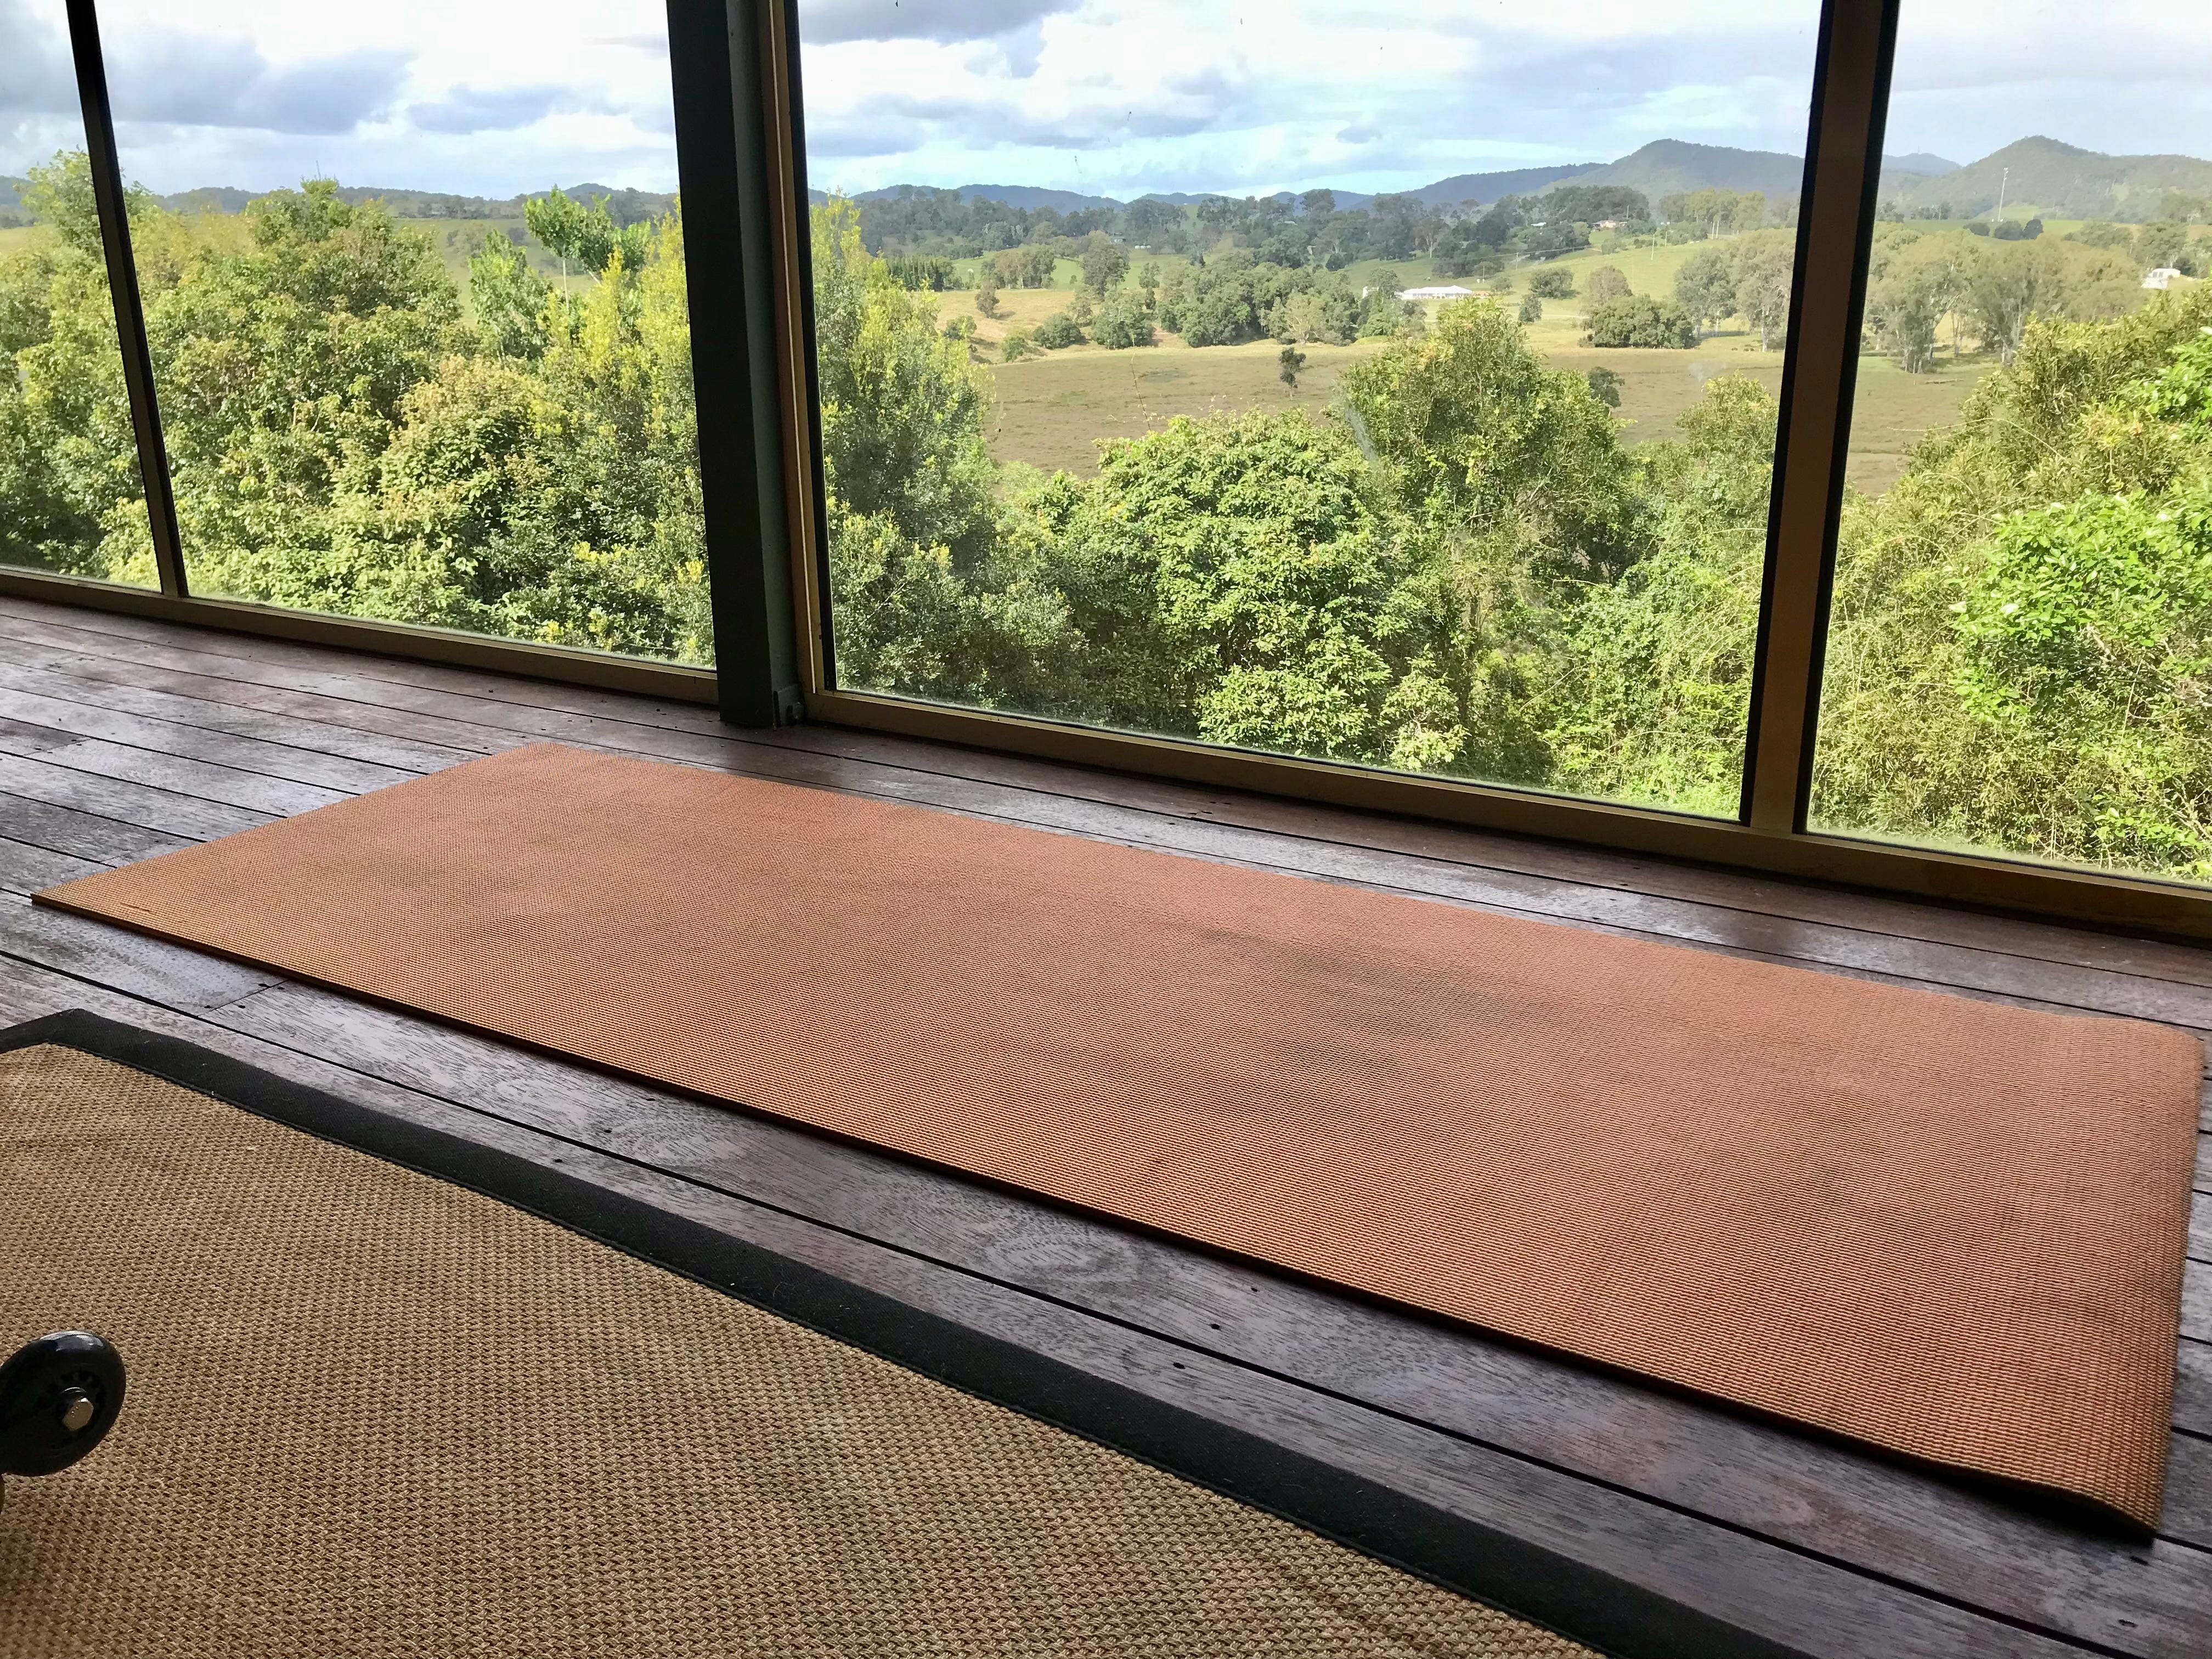
Find Your Spot(s): Probably most important is to find a quiet area where you won't be easily disturbed. This could be a corner of your living room, a spare bedroom, or even a quiet outdoor space if the weather permits (my verandah is a prime location).
TIP: your spot might change depending on your life (i.e work schedule, day, kids or pets). Embrace being flexible.
Clear the Clutter: Clear your chosen area of obstacles that could get in the way during your practice. Ideally you want enough space so that your range of motion (ROM) is not affected. You want to move freely without worrying about whacking into the coffee table or hitting a wall.
I used to lean the guest bed mattress up against the wall so that I had enough floor room to move but obvs that’s not going to be practical for all (*please note* we rarely had guests)
TIP: don’t be afraid to adjust each exercise to your space, i.e. swivelling your position on your mat might be necessary depending on the exercise - Saw, I’m looking at you.
Check the Surface: Tiled floor? Hardwood? Carpet? You need to take into account what you’ll actually be lying down on - how hard is the surface? I’d say ideally carpet is best.
TIP: If your floor’s too hard add cushioning. You can use a blanket, throw rug, or those puzzle like rubber mats you can get at Bunnings/Home Depot.
Consider Lighting: No one to my knowledge enjoys lying down looking up at fluorescent lights. Natural light is ideal, but if that's not possible, try for soft, ambient lighting.
TIP: I do love lamps (something that a certain Australian friend makes fun of me for) go ahead and use them to create a calm and inviting atmosphere.
Now you might think this is a lot of work but if your created space is inviting you’ll be much more likely to actually get down on your mat and practice some of those Pilates exercises.
2. EQUIPMENT
If you’re practicing the Matwork you don't need a ton of equipment to do Pilates at home, in fact the only thing necessary is a…
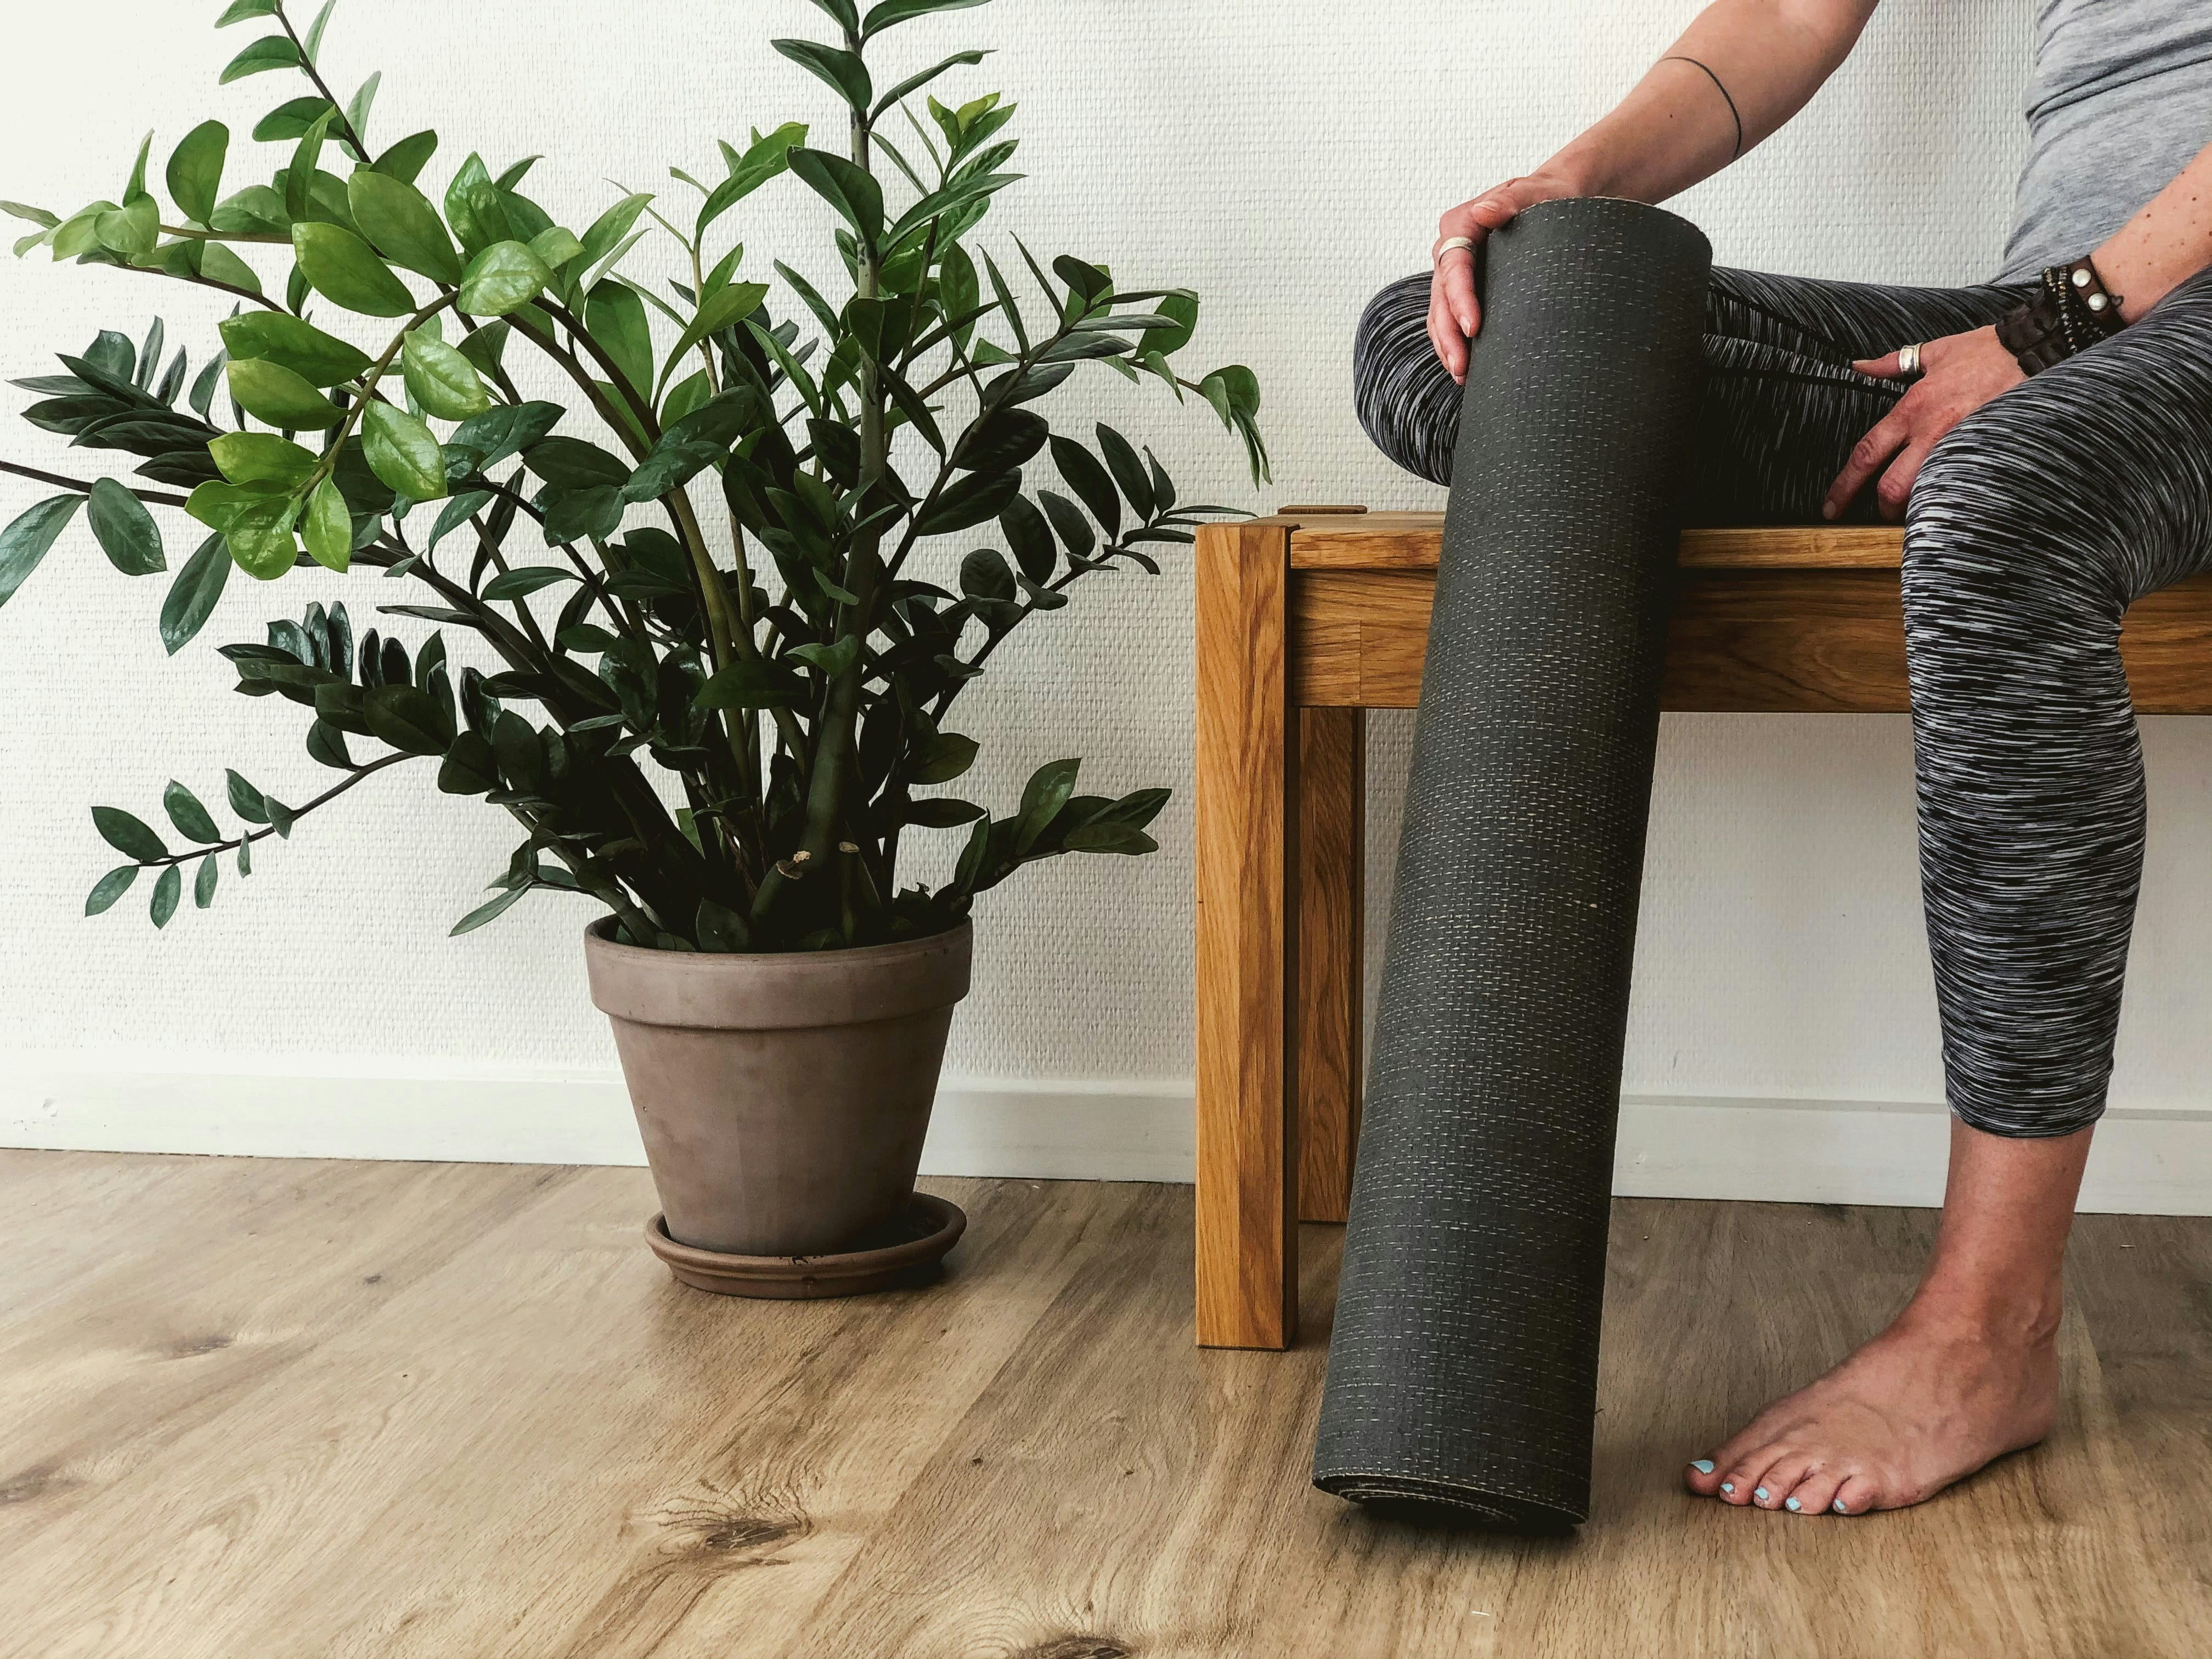
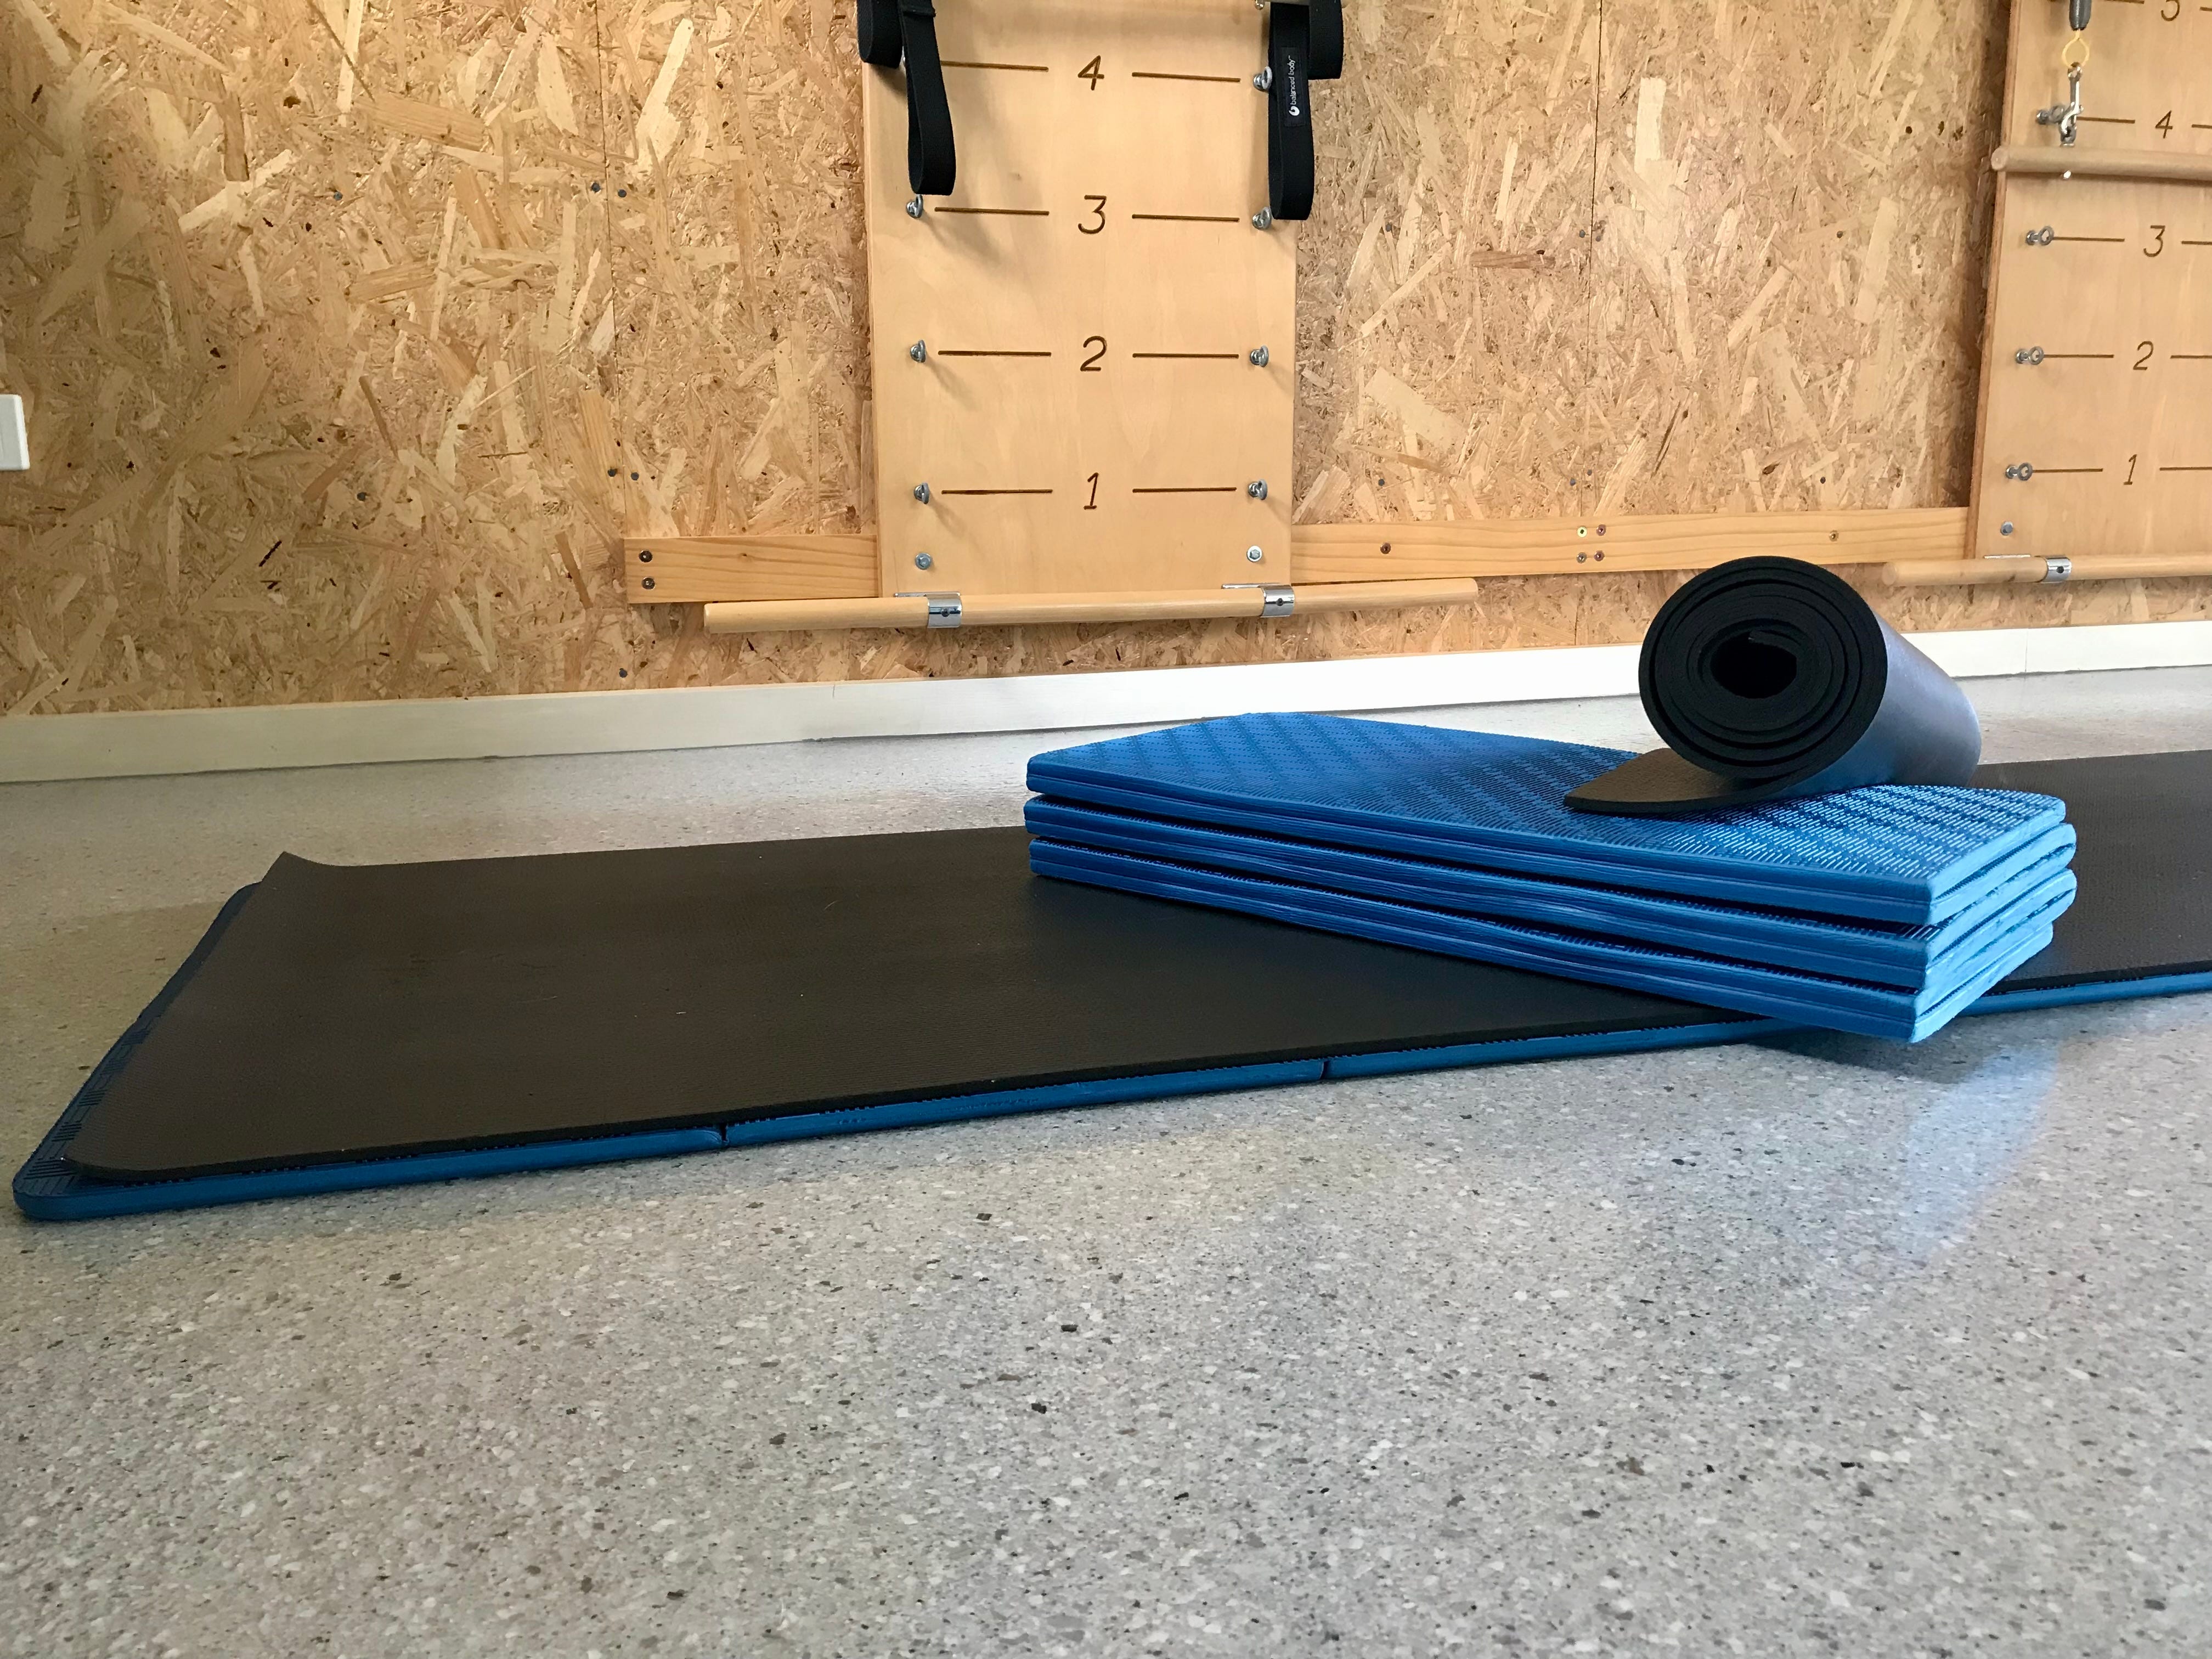
Pilates Mat: We all think that a yoga mat = a Pilates mat but it just ain’t true. A “real” Pilates mat that you might encounter at a Pilates studio is quite thick and squooshy offering support for joints but also making your body work that little bit harder to find stability.
That being said, most people will use a yoga mat at home, including me. I say the thicker the better for the above reasons; you def do not want to bruise your spine in the rolling exercises by not having enough cushioning.
I double up: First on the ground is a thicker, foldable one 15mm thick, topped with a 6mm yoga mat.
TIP: no mat? no worries: use a towel or blanket.
3. PROPS
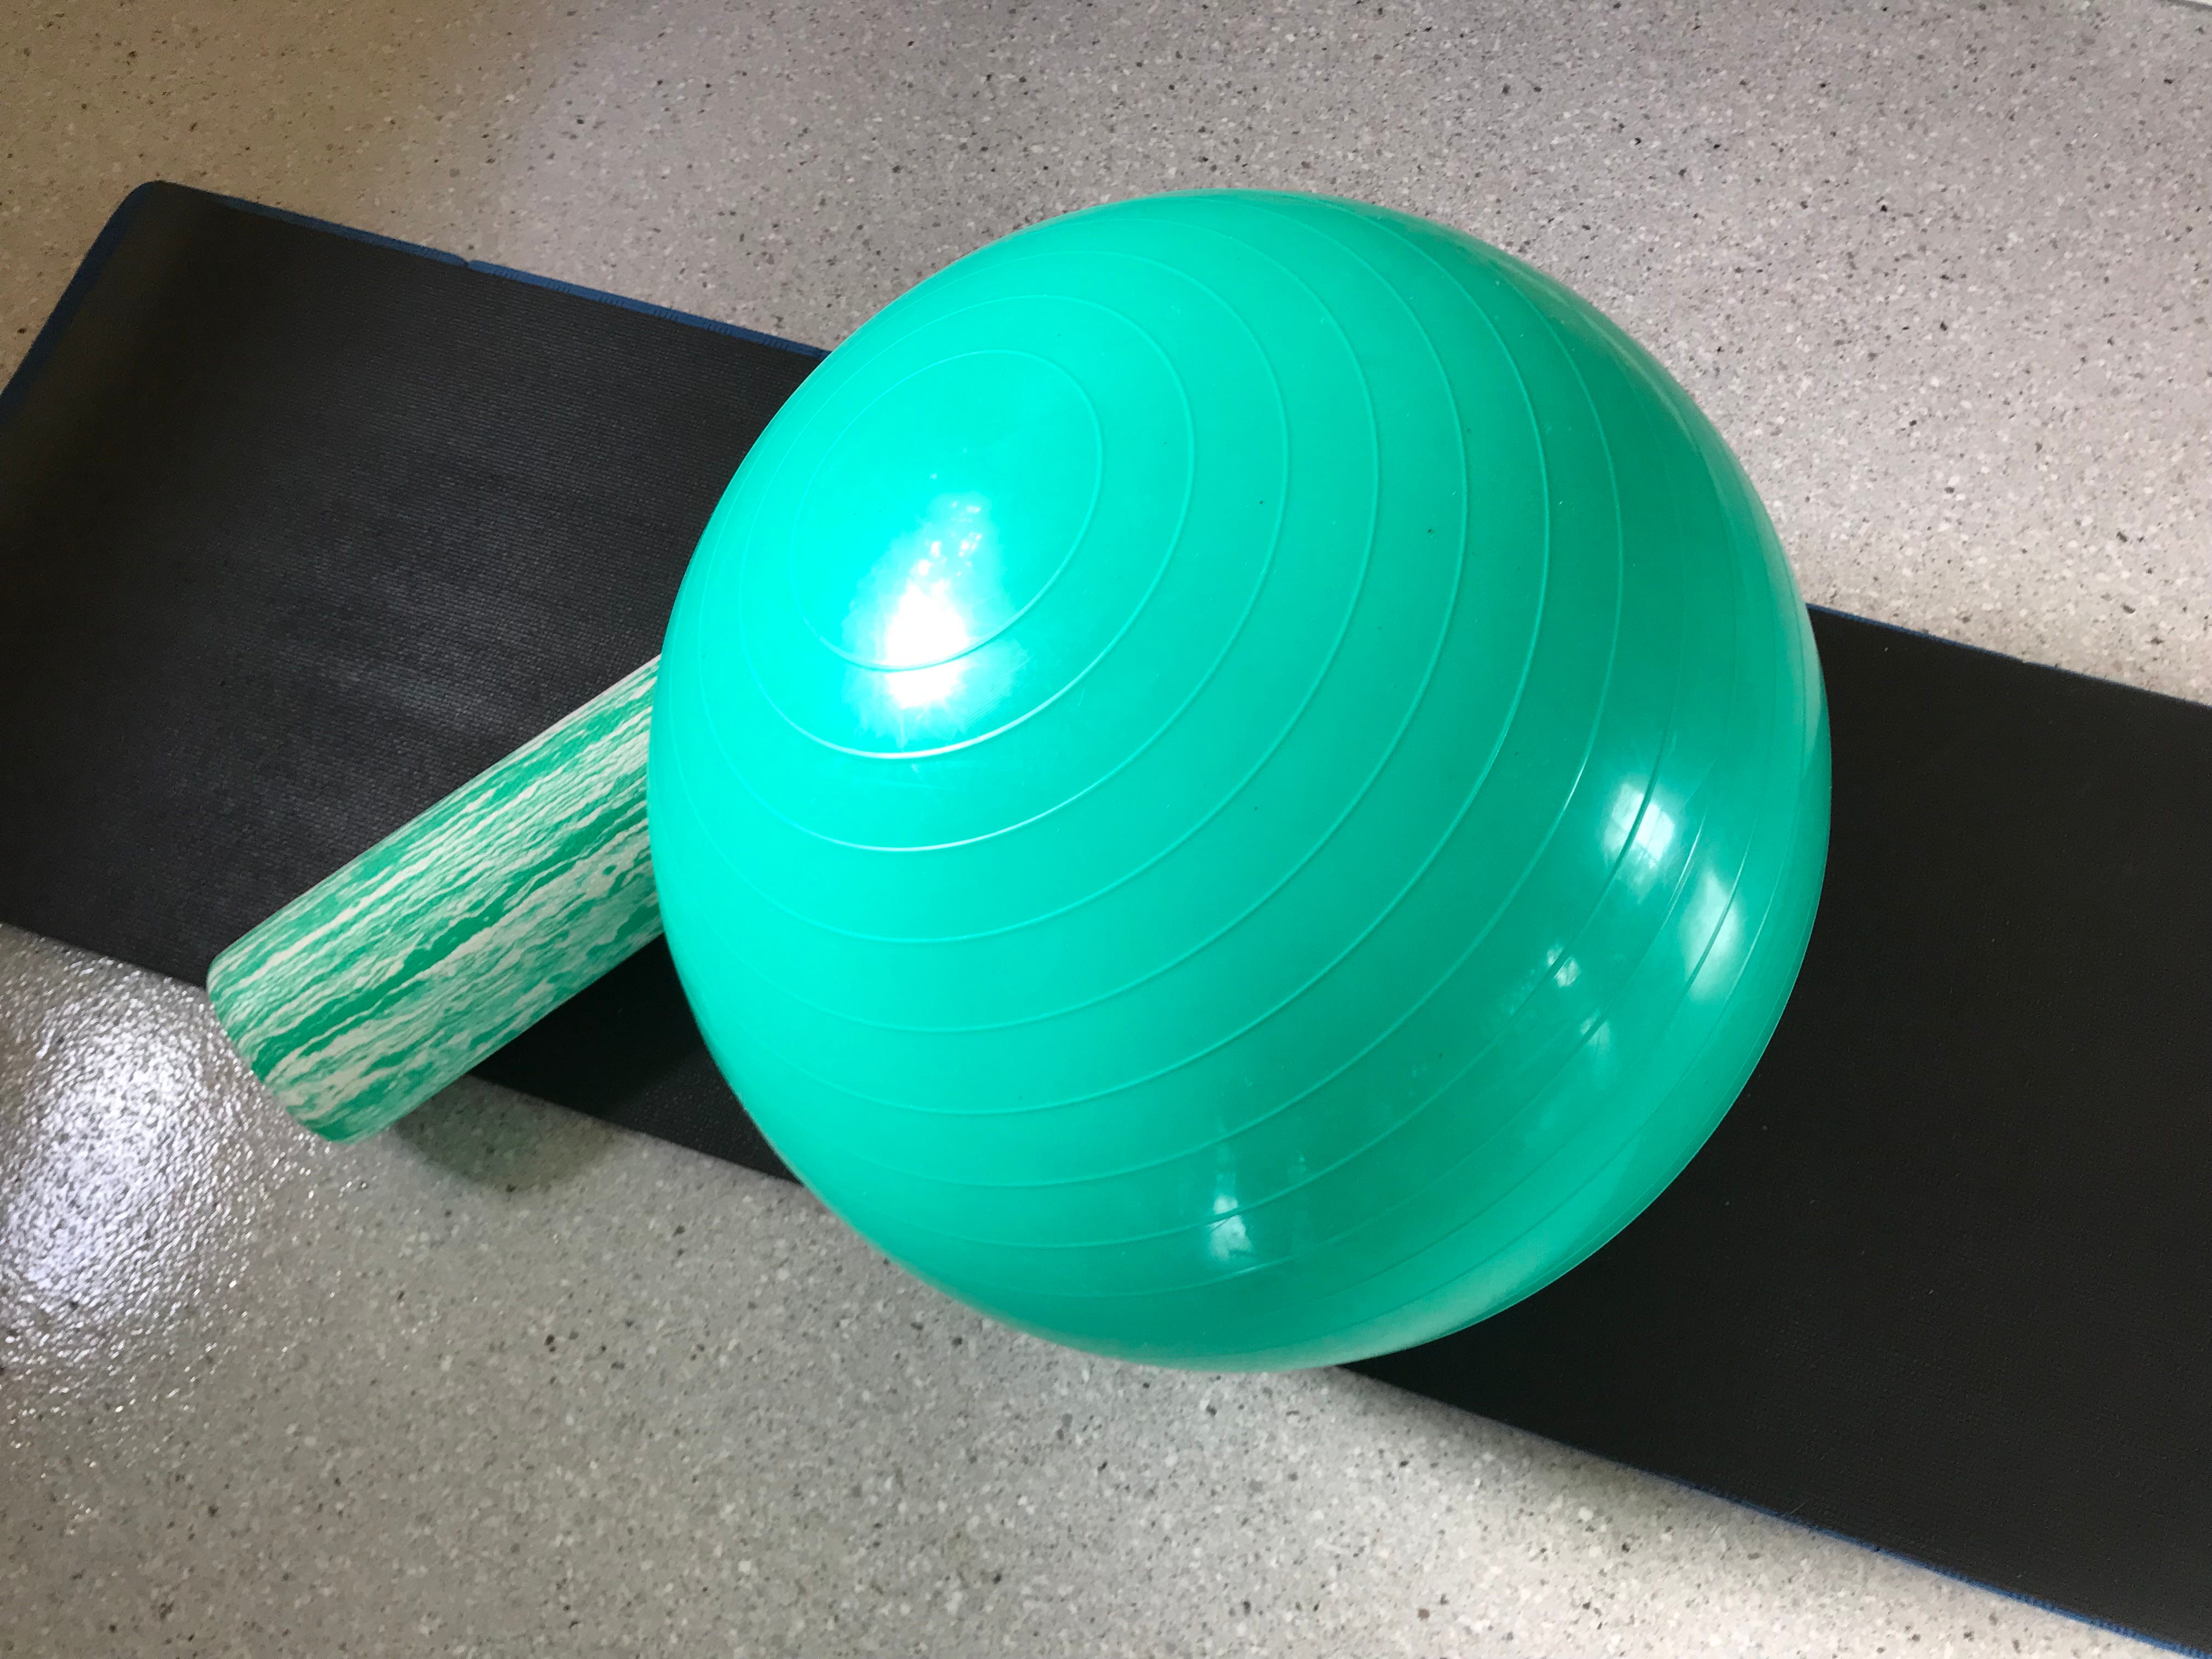
Props can be an important component of your Pilates practice whether they assist or challenge you. I’ll admit that having certain props can enhance your workout. I love, love, love Pilates on the FitBall - it’s so much fun!
If they’re available here’s three of my faves:
Foam Roller: Full length is more versatile than a shorty. Do not buy one with bumps, in this case harder does not = better.
TIP: do however try to get one that’s closed cell, it’ll last a heck of a lot longer even though it’ll be more expensive upfront. Some of my rollers are over ten years old and one is older than my kiddo who at the time of writing is 25!
Resistance Band: Resistance bands are great supports if you struggle with certain exercises or are tight. I’m thinking Roll Up and Single Leg Circle. They can also add resistance to your practice, making the exercises more challenging and effective for building strength and toning muscles.
TIP: store your band in a small ziploc baggie with a teensy bit of baby powder (or cornstarch). At any sign of wear or stiffness get rid of it. Snapping bands are not good - trust me! Especially living in the tropics, they deteriorate sooner than you think.
Stability Ball aka FitBall: As mentioned above, I love mine. Stability balls are great for adding variety to your Pilates routine and improving balance and stability, plus they’re just plain fun! Bring out your inner bouncy child and use it for core exercises, stretches, and more.
TIP: make sure your ball fits you, when you sit on it your knees should be at 90 degrees (more or less). It also should be pumped to the right tension. Too soft and it’ll be unsatisfying to use. In this instance firmer is better.
PROPS: HOME HACKS
There are plenty of household items that can double as Pilates props
Get Creative!!
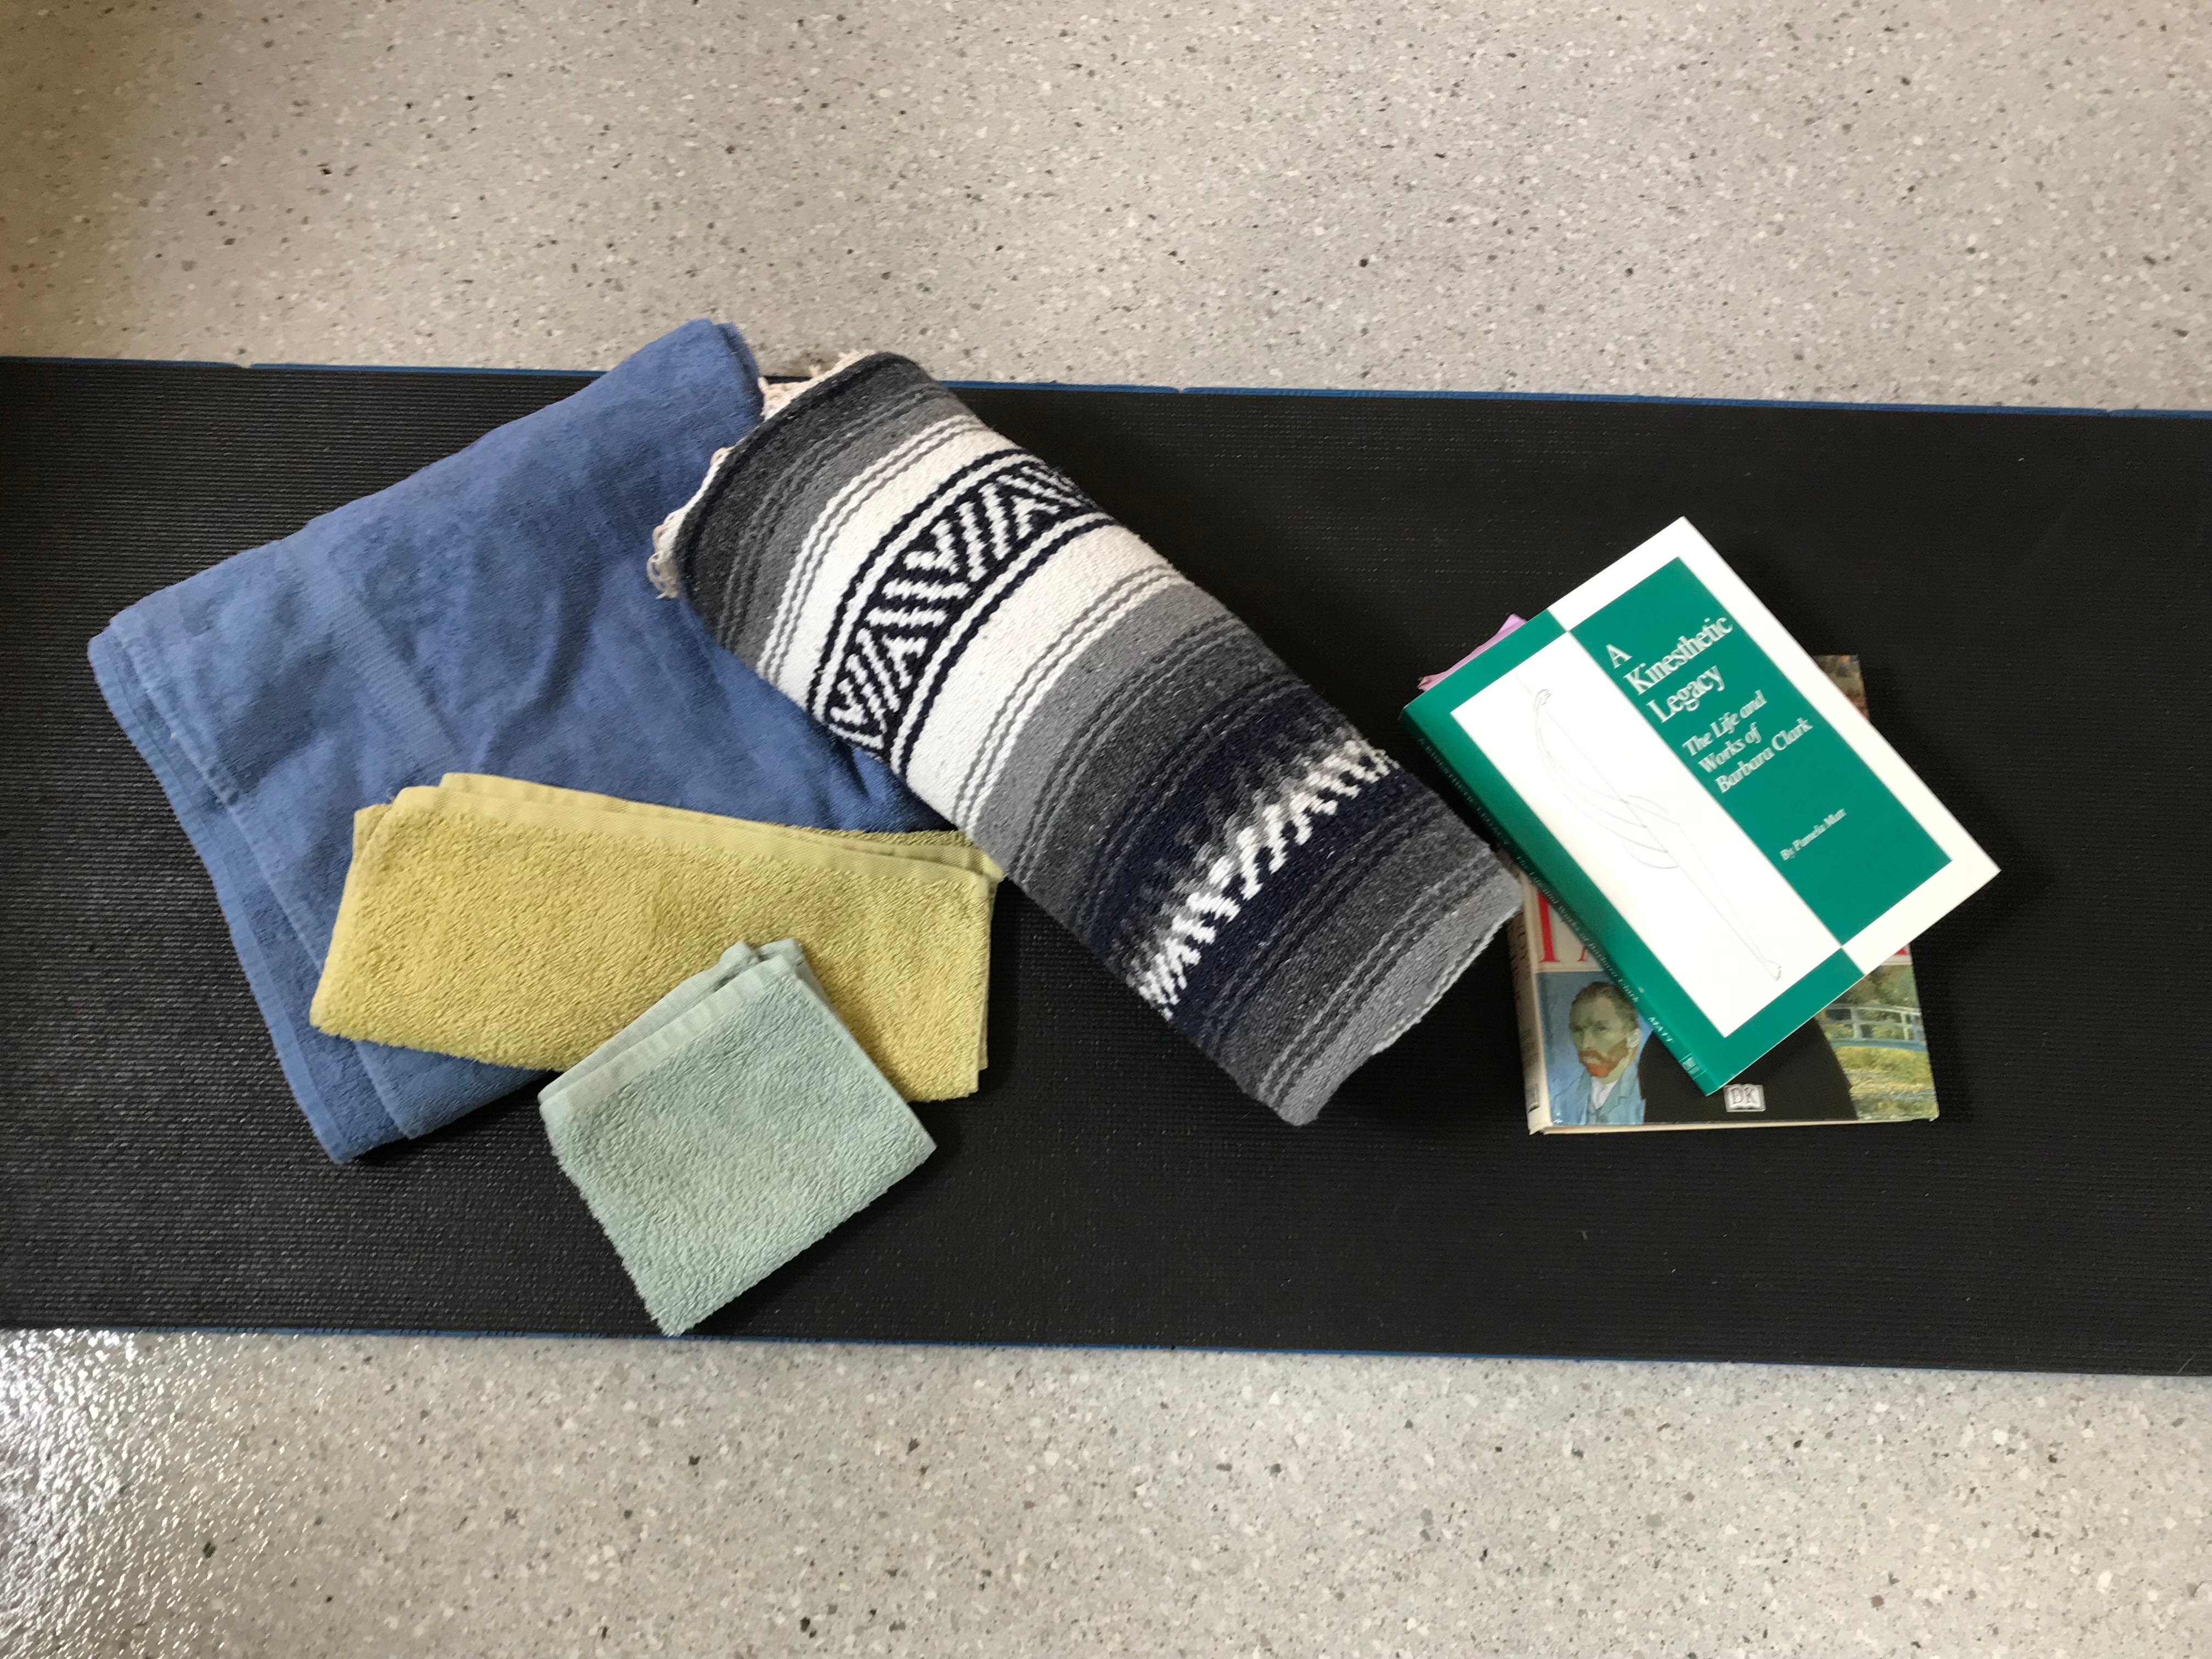
Towels: Towels can be rolled up and used as props to support your body. Three of my favourites hacks:
A ‘magic towel’ under your low back at the top of the glutes to help with Roll Up or Tree.
A small towel or wash cloth underneath your head, check how your shoulders and neck feel with and without.
As above, use one instead of a mat. (in my experience plenty of studios require you bring your own to put down on the equipment)
TIP: don’t be afraid to try different sizes for different body parts. Listen to your body and use (or not) accordingly.
Blanket/Bolster: A blanket or bolster can be a stand-in for many exercises on the Foam Roller, either where your hips are supported or you’re on it lengthwise. You’re right it won’t be the exact same experience, and of course you won’t be able to achieve the rolling ones.
TIP: if you do own a foam roller that’s super hard and painful to lie down on, drape it with a blanket.
Books: mostly you can use books to elevate your pelvis in the seated exercises. but you could also foam roller hack it to go under your pelvis for some hip/leg work.
TIP: if you do elevate your hips with a stack of book put a cushion on top to deal with sharp edges.
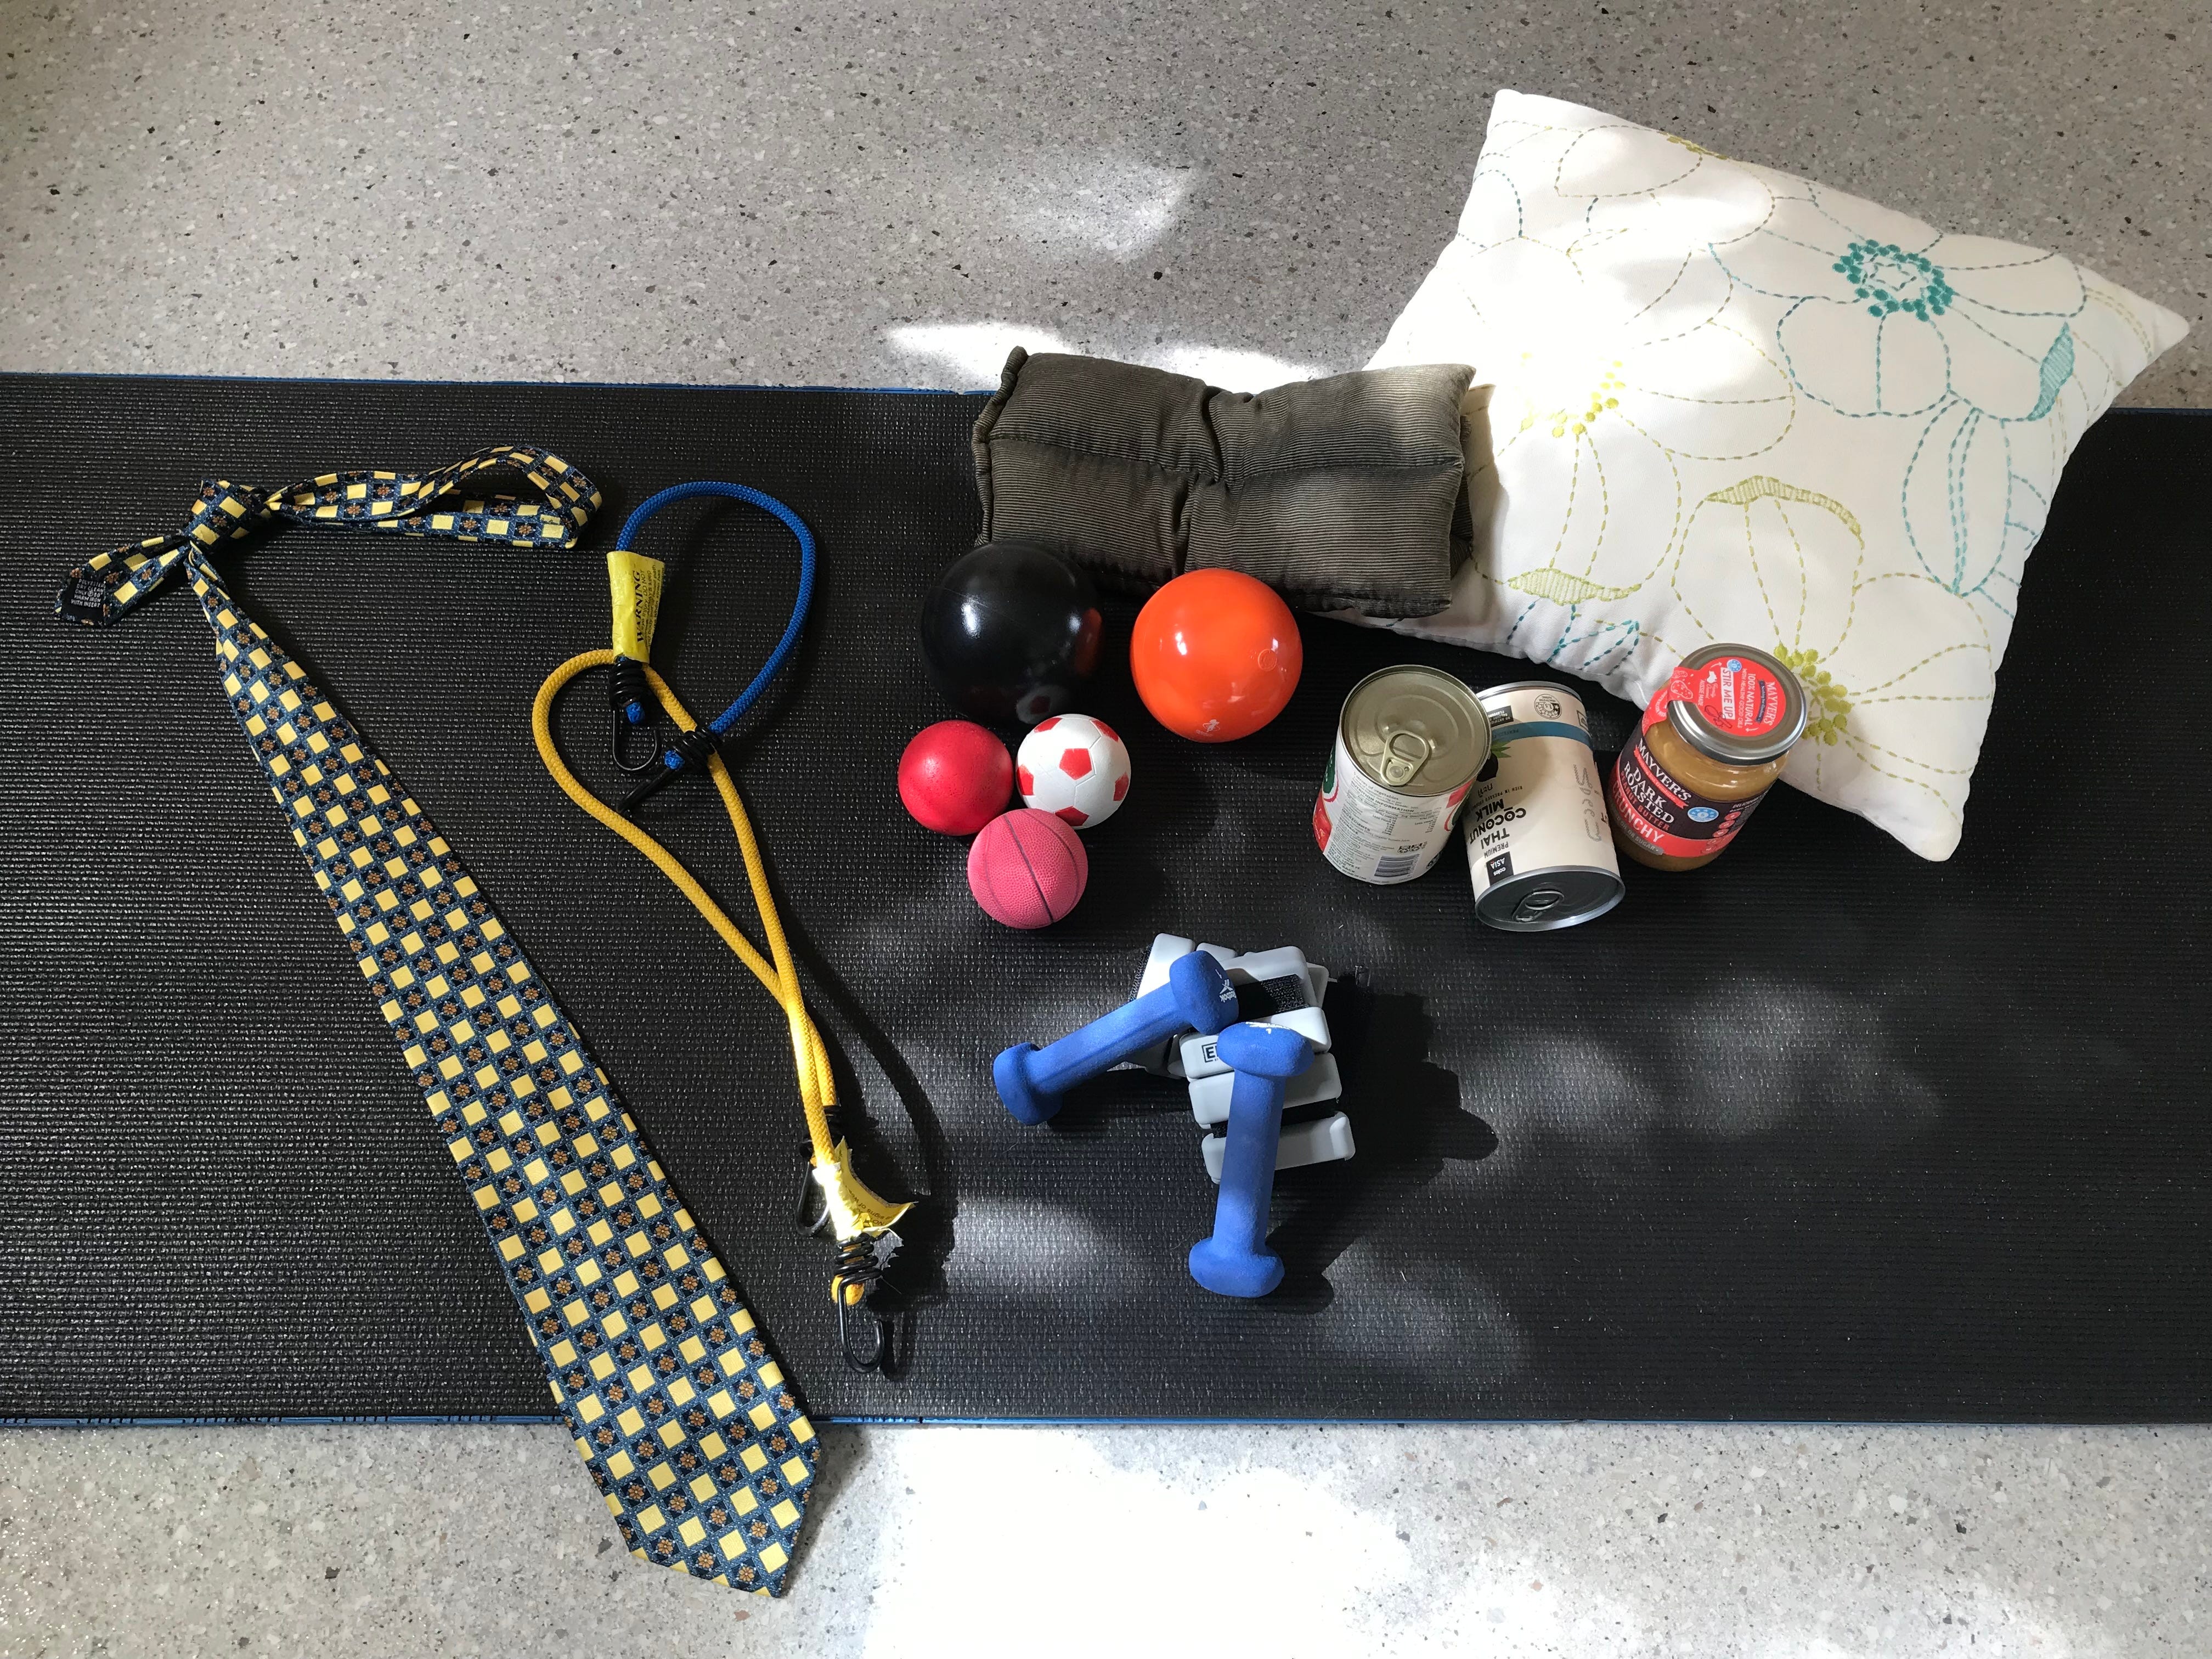
Tie/Yoga Strap/Bungee Cord: These can replace a resistance band and are ideal for:
the ability to ‘reach’ your foot for a prone quad stretch
act as an extender or the arms enabling a supine hamstring stretch if the quads/low back/hip flexors/hamstrings are tight
TIP(s): make a loop for your foot by tying a knot it a tie. Try bungee cords of different tensions depending on the exercise and whether it’s for support or challenge.
Dog Toys: many a small ball I have for trigger point release or foot mobilisation exercises started life out as a dog toy. I do not recommend lacrosse balls for trigger point release - too hard!! You might have to squeeze a lot of balls :-0 but generally, dog balls have a bit of give and your tissue will thank you for it.
TIP: make sure the dog doesn’t abscond with the toy ;-)
Hand Weights/Cans of Food: Like the resistance band, small weights or cans either assist you or challenge you during an exercise. (sometimes both depending on where you are in the choreography)
TIP: I’ve also used rolling pins, heat packs that are filled with rice, and jars of food instead of cans. Explore your possessions with an open mind.
Chair/Bench: A sturdy chair or bench can be used for seated exercises or as a support for balance and stability during standing exercises. If the chair doesn’t have side arms it can also be used as a smaller platform for say the 100 or the Stomach Series - fun!!
TIP: if your balance is really dodgy while standing, move that chair close to a wall so you get double the support.
Pillows: Pillows can be used for support and cushioning during exercises that require you to lie on your back or side. Try them under your head, neck, between your knees, under your bottom waist in side lying. You can also cushion your tailbone during rolling exercises by making a gully with two pillows so the tailbone has less pressure.
TIP: in this instance bigger is not better, small pillows/cushions work best (see also towels)
4. SET-UP
Optimal Mat to Device Positioning
Most people I know who practice Pilates at home either follow along with a pre-recorded class or take a live-streamed class. (if you’re one of the few that has a stand alone Pilates practice and practices on their own, I tip my hat to you!)
Depending on how you engage with your instructor you’re going to want to set up your Mat to Device relationship accordingly. For both types of situations, generally the bigger device you can use, the better. It’s going to be far easier to see an instructor on a desktop screen versus the little rectangle of your smart phone.
ON DEMAND/PRE-RECORDED PILATES CLASSES
If you are being guided by a teacher who is showing you what to do while doing it, then you want to able to see them without too much torquing of your own body.
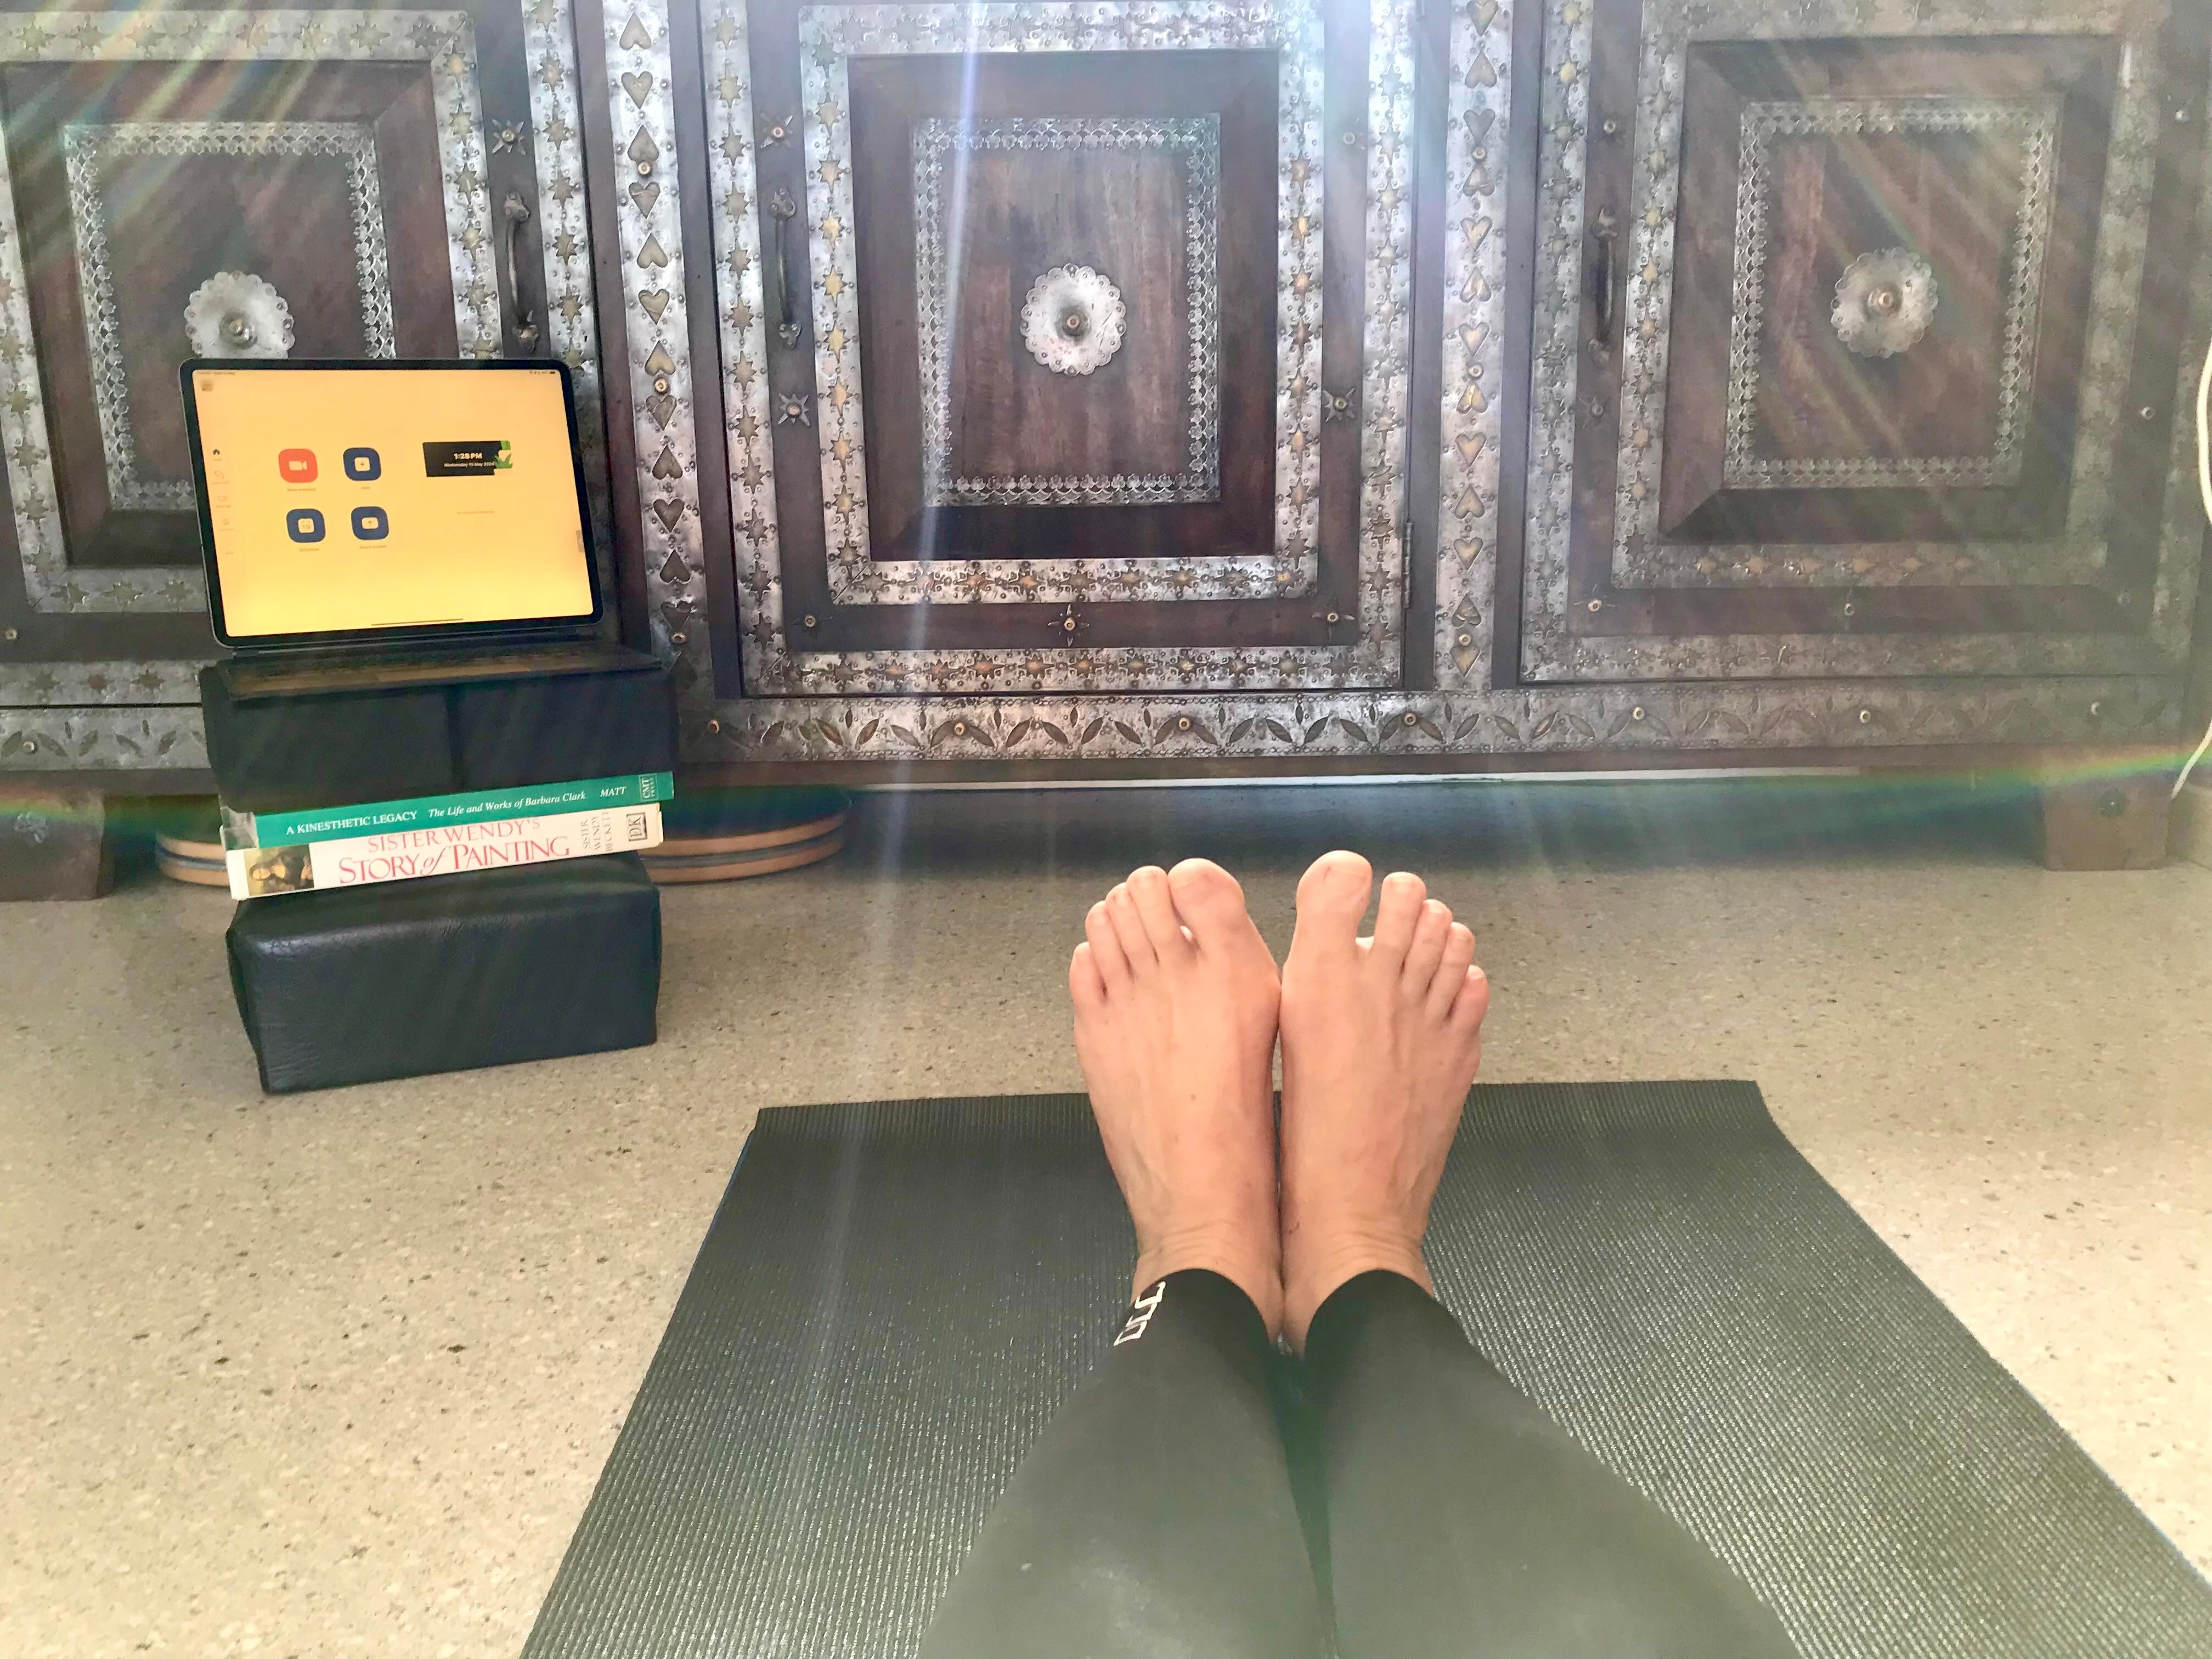
For this I recommend having your device at the bottom of your mat and slightly off to one side. If it’s directly below you there will be times where your body will obstruct the screen.
If you can get the screen up to your eye level as you’re sitting up so much the better. You can put it on a low table or a stack of books.
Remember, Pilates is all about aligning your body to move efficiently so you want to minimise taking your body out of optimal alignment. Most likely your neck is going to take the brunt of you trying to see what the heck your teacher is doing.
TIPS:
if possible each time you partake in a class change which side of your mat you place your device.
repeat a class so that you have more familiarity with it and don’t need to rely on the visuals as much.
use your ‘listening ears’ and see if you can be guided by the instructor’s words instead of watching them. (easier said than done but is definitely a skill worth developing).
LIVE STREAMED CLASSES
**Note** all of this would also apply if you were doing a one to one session
Now this is different because presumably the instructor wants to see you and your body so that they can give you the best experience possible and pick up on things they want to correct. So…
Your device again is down towards the bottom & off to the side of your mat, but it’s higher. Think desk/table height.
Your teacher would love to see as much of your body as possible so imagine your camera taking an up on the diagonal photo of you from the foot nearest your device to your opposite shoulder. This means your teacher should be able to see most, if not all of your body, which is what you want.
If you plunk your device directly perpendicular to the side of your body or directly down at your feet your teacher only has one point of reference. Let them do their job to the best of their ability
I can’t take credit for this, it comes from Shari Berkowitz of The Vertical Workshop (love her work). I did a ‘how to teach online’ workshop with her when Covid broke out. Also from her is this tip:
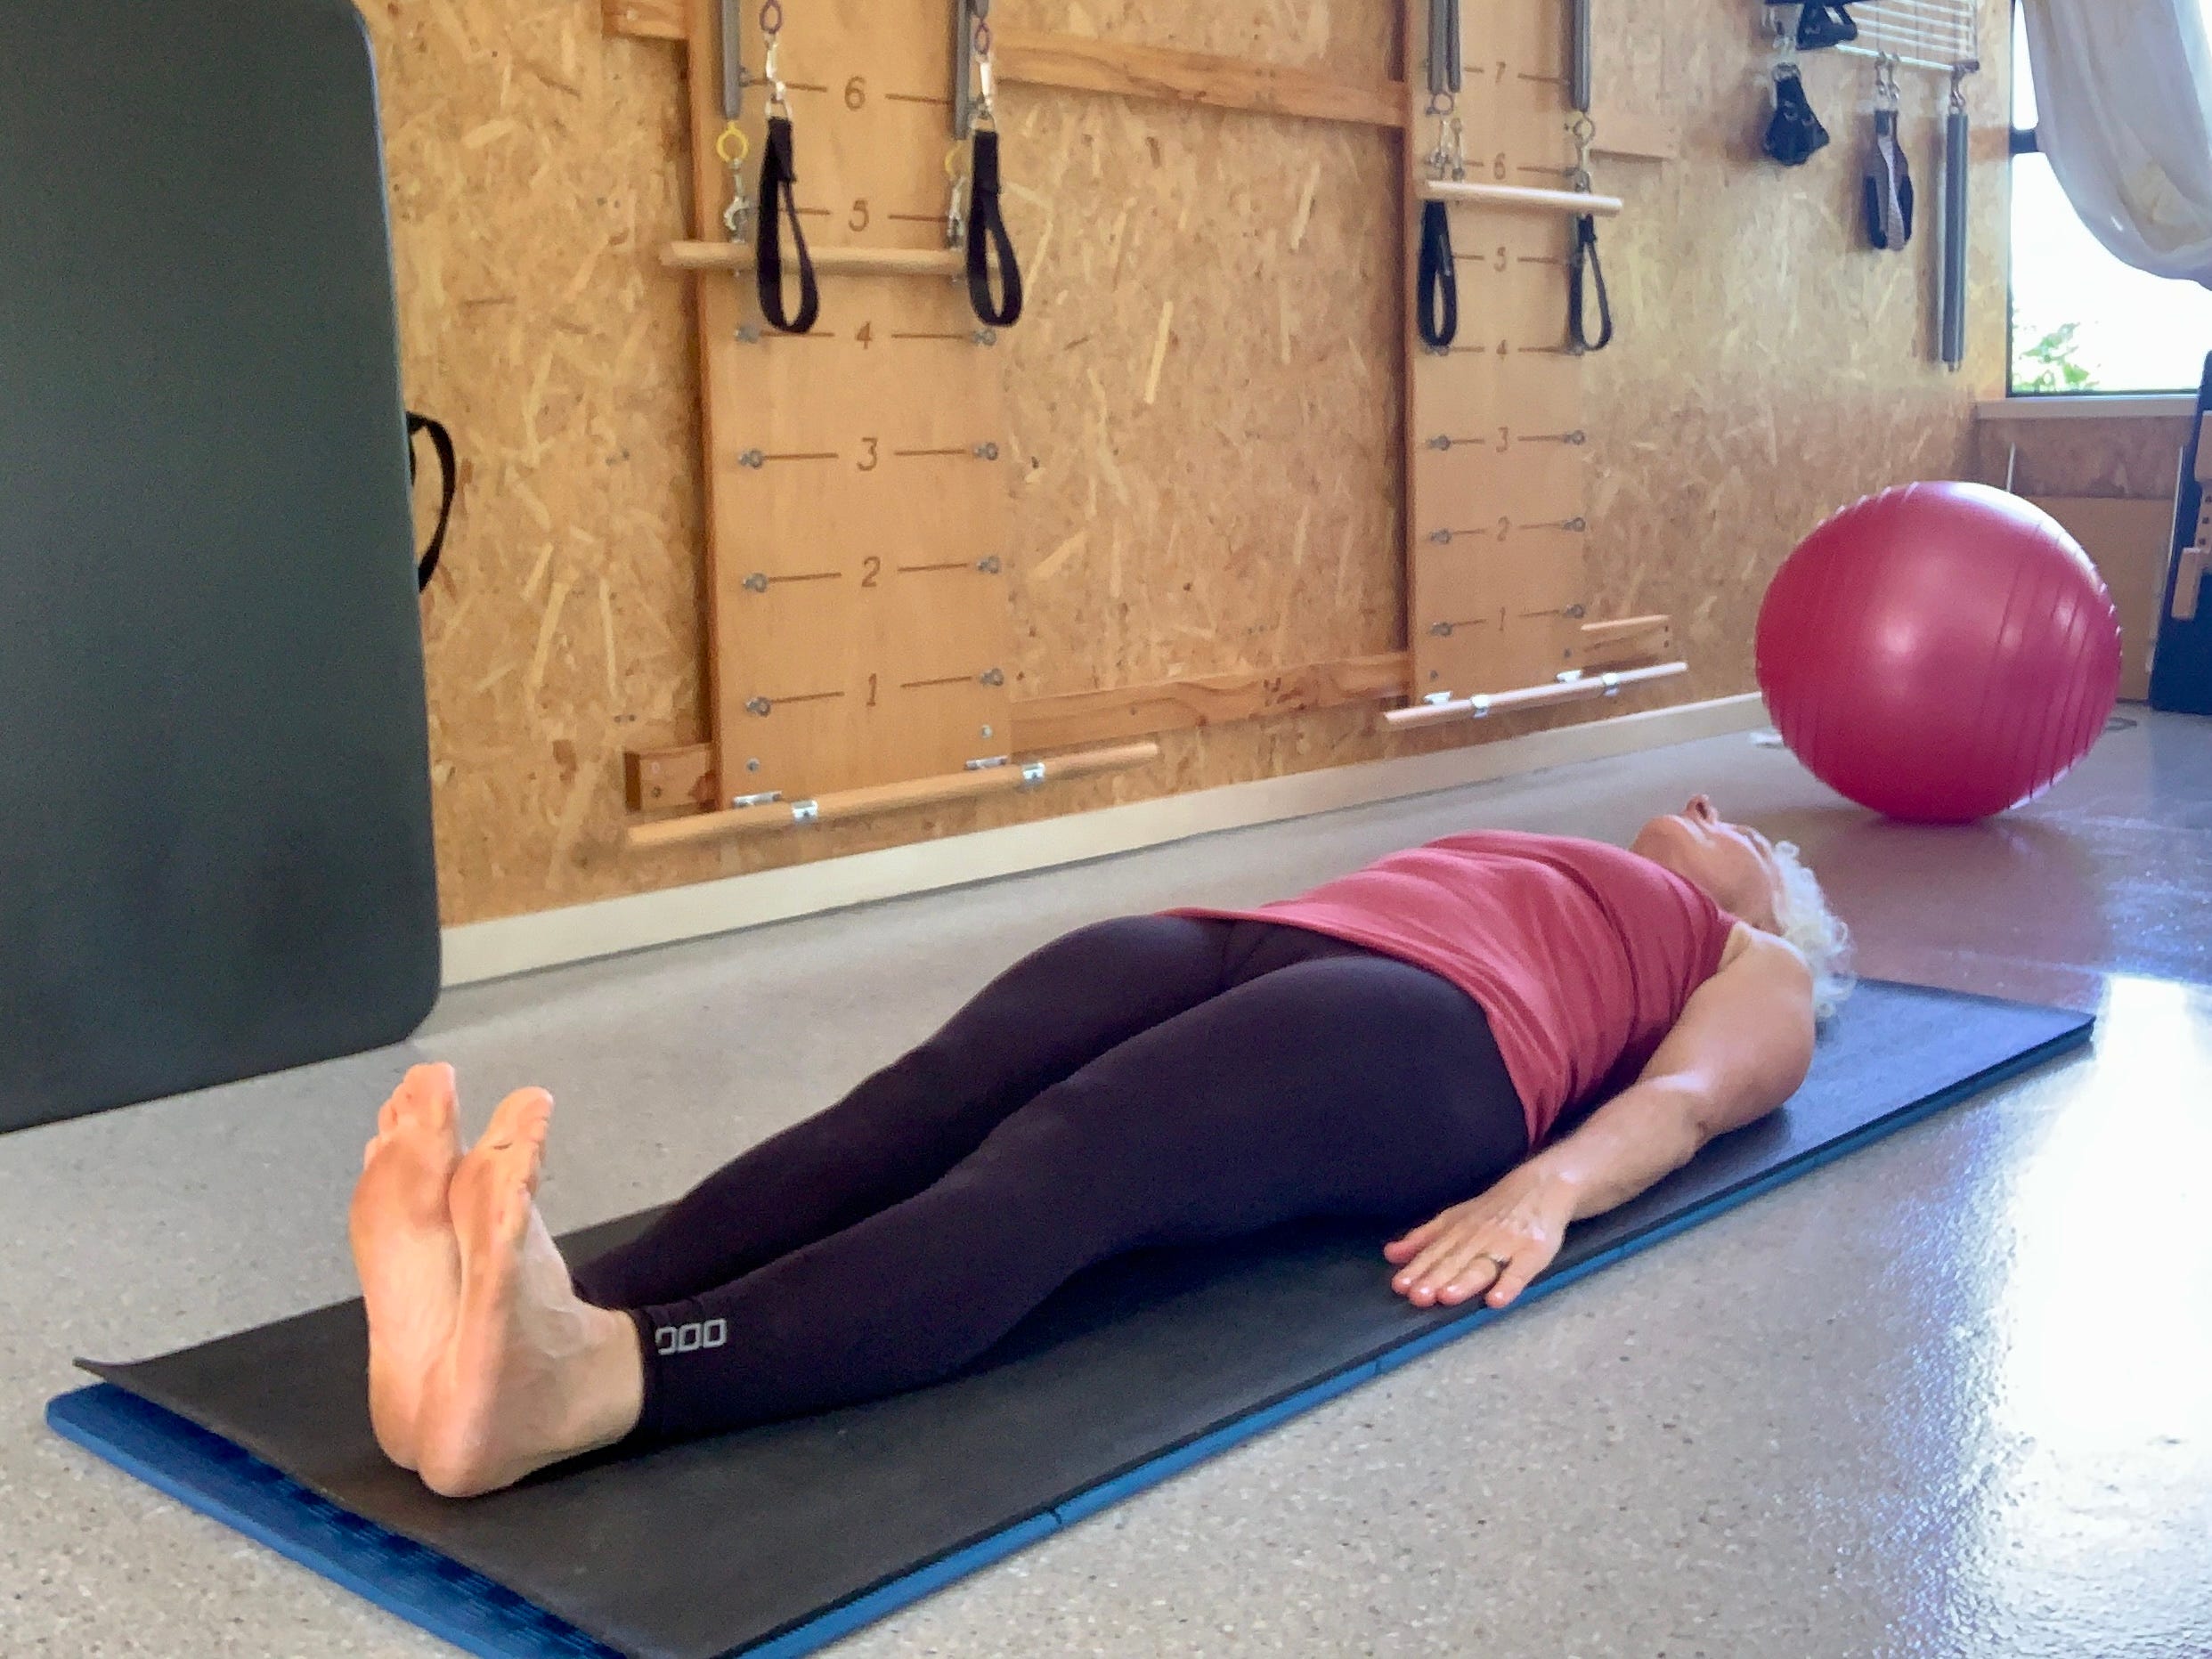
TIP: wear clothing that contrasts with your mat so that your teacher can SEE you. Sometimes I forget and wear black pants while I’m sitting on my black mat, ahem, like in the photo below. Can you say camouflage!
Finally, Make It Your Own
Ultimately, your home Pilates practice should reflect your preferences and needs. Don't be afraid to experiment and make adjustments to find what works best for you, remember you are the expert on you!
Personalise Your Space: Add personal touches to your Pilates space, you want it to be an inviting place, conducive to practice. Options: plants, inspiring artwork, even some music would be nice.
Mix It Up: If you can’t get a full hour in, give yourself the freedom to make your at home workout 10, 20, or 30 minutes. The secret is to just get down and start! As well as mixing up the length, you can change what you focus on either with some of your home hack props or by leaning into a particular Pilates Principle: Breath, Precision, or Flow are all good ones to start with.
Listen to Your Body: Most importantly, pay attention to how your body feels during each exercise and adjust accordingly. If something doesn't feel right, modify the movement or skip it altogether to prevent injury. HOWEVER, as I say to my clients, make sure you make a difference between discomfort and pain - a little (okay, maybe a lot) of discomfort is not a bad thing, it means you’re pushing yourself.
In Conclusion
By setting up your space thoughtfully, buying a bit of equipment, getting very creative with props, and making your practice your own, you can create an effective and enjoyable home Pilates practice. It’s easier than you think! So, go ahead… roll out your mat and get ready to move & breathe, and breathe & move so you feel better in your body, mind, and spirit..
Thanks for reading,
xBec
The information contained above is provided for information purposes only. The contents of this blog are not intended to amount to advice and Rebecca Forde disclaims all liability and responsibility arising from any reliance placed on any of the contents of this post